Domain names
Connect every public service to the right address
Connect the project’s public services to the addresses you want your users to recognize.
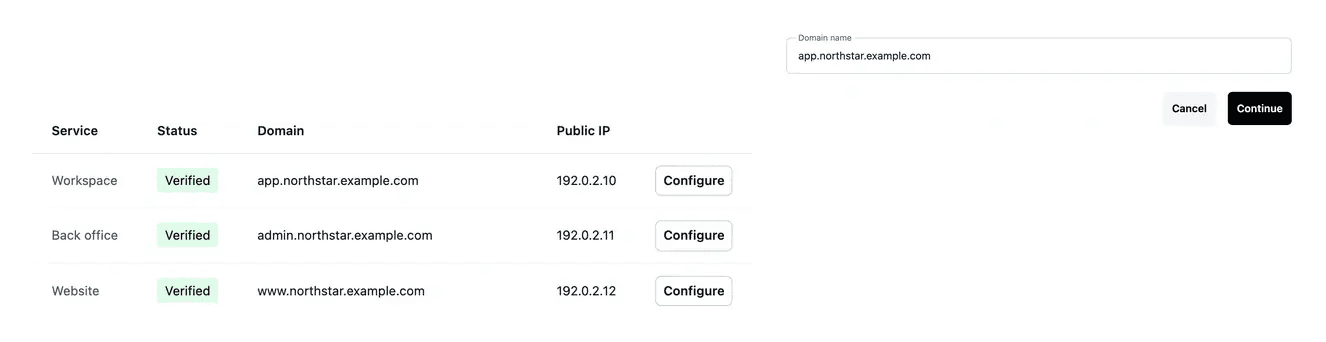
Ownership and service routing are separate checks
- Declare the address
Add a domain for the relevant project service.
- Follow configuration
Review the address and required configuration steps.
- Verify the connection
Use the verification view to inspect the domain state.
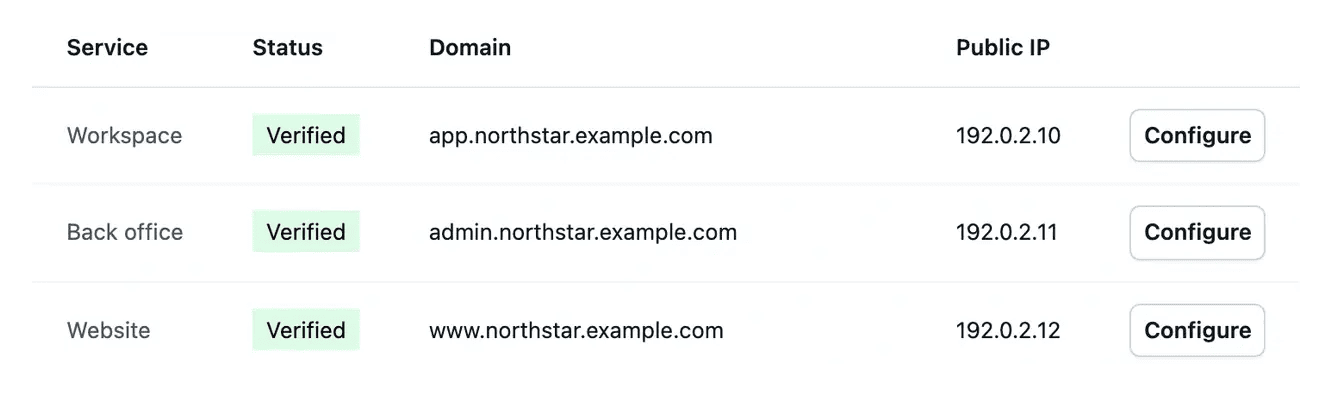
Give each public service the right address
Your application, public website and documentation can use the addresses defined for those services. Check which service a domain should serve before declaring it.
Follow the domain configuration requirements and provide the needed settings at the domain provider. An address declaration and a working connection are separate steps.
Give visitors a reliable destination
Verify the domain you control. The ownership check uses the verification record shown by the project. Completing it establishes control of the domain before assigning it to a service. Use the value belonging to that domain and project.
Assign the appropriate service address. Application, website and documentation serve different purposes. Configure the intended domain or subdomain for each relevant service and use its displayed DNS destination, rather than reusing another service’s address.
Review a changed public address. When an address changes, check its DNS state and public destination, then review links from the website and guides. The service connection and the paths users follow should remain coherent.
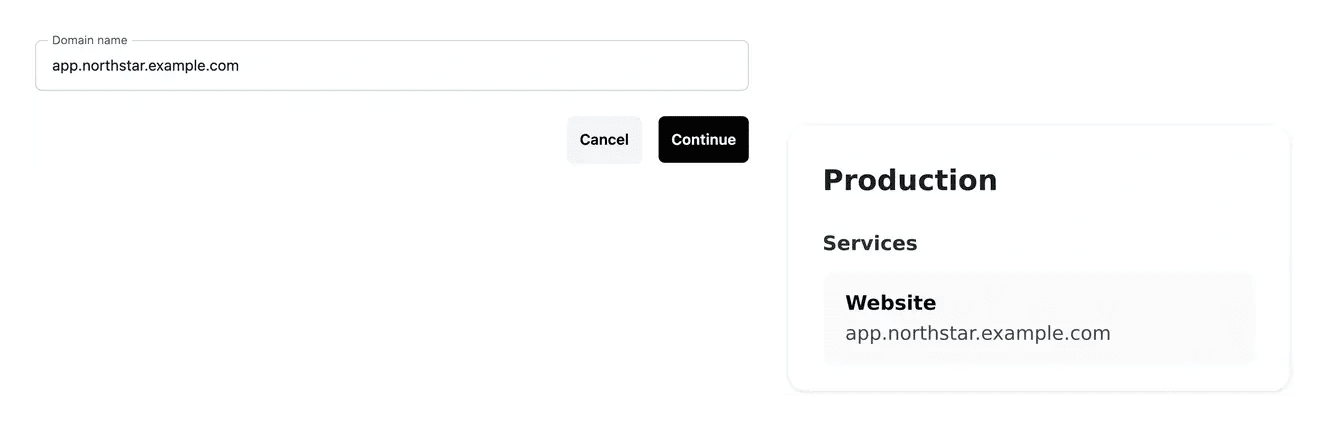
Check the service behind the name
Use verification to inspect the connection state, then open the intended service at its public address.
When an address changes, review links in the website and documentation as well as the application entry point. Keep the destination understandable for users.
Connect a recognizable address to the right service
Decide which address belongs to the application, the public website or the documentation. A clear naming plan helps users recognize where they are going.
Follow the domain verification steps for the intended production service. Then open the address to check the destination actually served, rather than relying only on the saved configuration.
From declared ownership to a verified destination
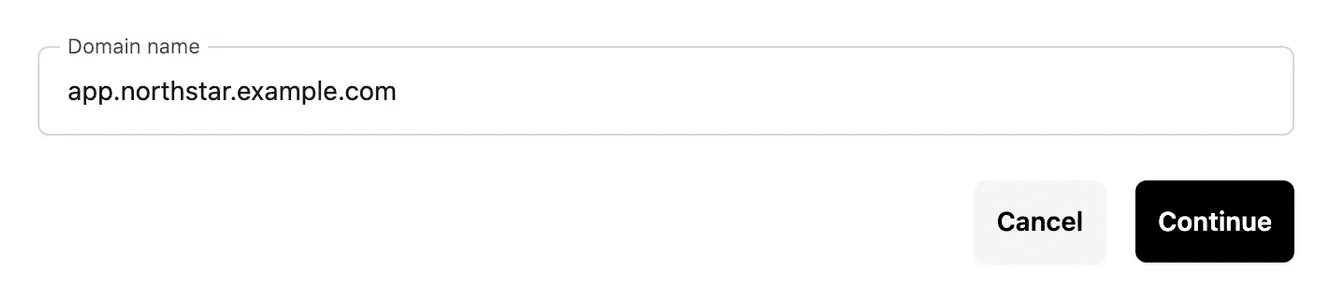
Declare and verify. Enter the domain and add the ownership TXT record shown by the project. Complete the verification check.
Connect the service. Choose the verified name and appropriate service address. Add the DNS records displayed for that configuration.
Check the public journey. Verify the service connection, open its address and follow the links used by visitors. Allow DNS propagation before interpreting an initial failed check.
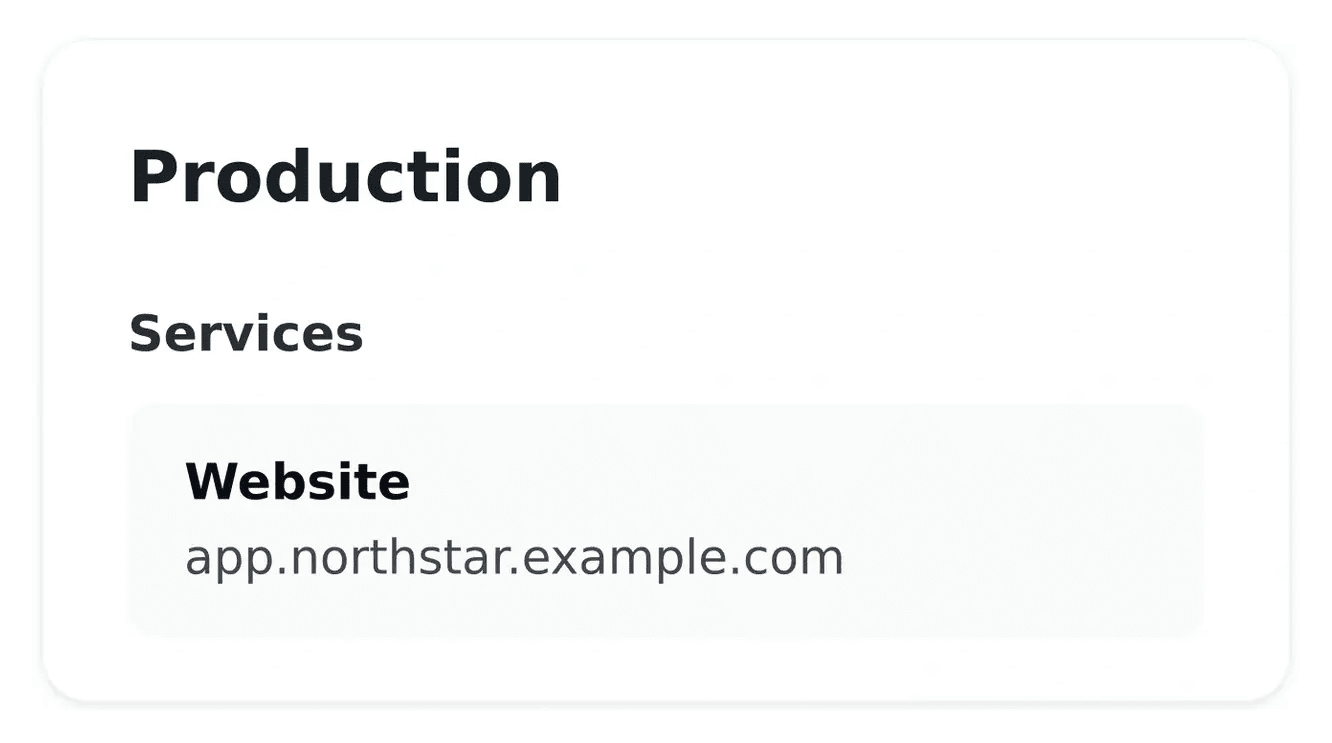
Keep the public address connected to the intended service
Use the actual project records and verify both ownership and destination before relying on the address.
Questions about Domain names
Ownership establishes control of the domain. Service DNS configuration directs visitors to the intended application, website or documentation. A successful ownership check does not by itself configure every service address.
They are distinct destinations. Use the domain configuration for the service concerned and the values it displays.
Use the record name, type and value shown by the current project configuration. Another service’s IP or an example domain is not the required destination.
DNS changes may not yet be visible. Compare the record exactly and allow propagation, then repeat the check shown by the project.
Verify the new public destination and the links referring to it. Check the website and documentation journeys as well as the application entry point.