Website visuals
Choose images that help explain the product
Prepare and select images for the public pages, keeping each visual connected to the message it should support.

A visual should support one clear message
- Match the placement
Review the page and section the image belongs to.
- Supply a real reference
Upload an appropriate image for the supported placement.
- Review the result
Check how the selected visual appears in the built page.

Choose images that explain the product
A homepage image and a detailed product illustration do different jobs. Select a visual that supports the section title and the behavior the product actually provides.
Use material you are entitled to publish. Product screenshots should represent the real application and avoid exposing private customer information.
Keep the image connected to its actual placement
Explain a supported capability. A product image is useful when it makes the adjacent explanation easier to understand. A real application view should represent the supported behavior, while private customer information remains outside the public presentation.
Choose the right detail for the section. The first impression of the product and the explanation of a precise task need different levels of detail. Read the placement’s purpose before choosing an image, so the important reading survives its frame and the smaller mobile layout.
Maintain an existing choice. An image is selected for a page placement. When changing one visual, review the other choices before saving. The association keeps an uploaded file connected to its intended message rather than turning every upload into a global replacement.
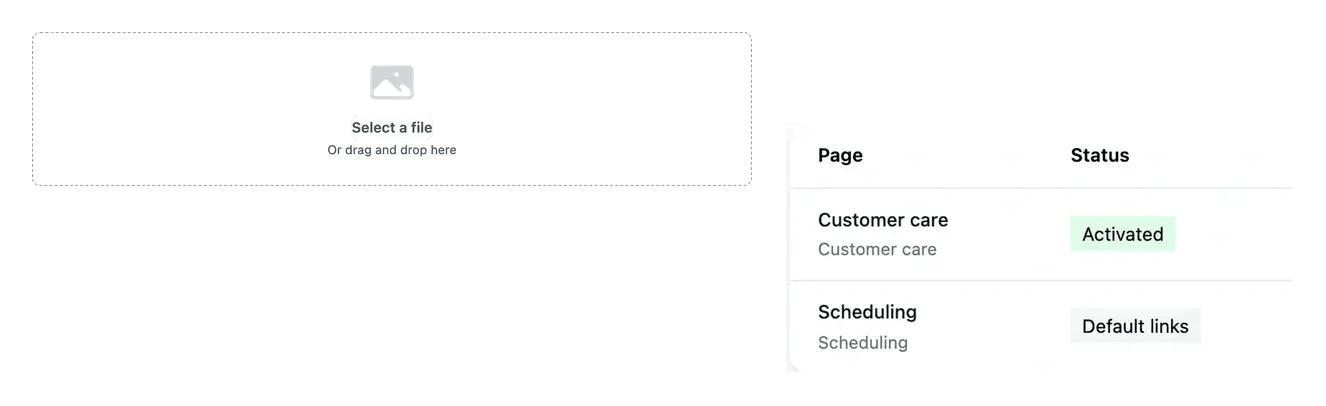

Keep the visual choice with the page
Public page visual selections are associated with their placement. This keeps the chosen image connected to its page rather than treating every upload as interchangeable.
After a changed selection is applied, review the published result on desktop and mobile. Check that important content remains visible within the intended image area.
Show the part of the product the text explains
A useful illustration brings one function into focus: a field, a result or a small group of controls. Its role is to make the adjacent explanation easier to understand.
Review the image at the size visitors will actually see. Keep the important detail readable and check that the picture supports the page’s promise without adding an unsupported claim.
From suitable material to a reviewed page image
Read the placement. Open the page’s graphic content and inspect the purpose and current image choice. Identify what the section should explain.
Upload and select. Use a supported image and the upload panel’s limits. Choose the available file for the corresponding placement and save that selection.
Review the applied result. Follow the website change and inspect the image beside the actual text on desktop and mobile. Check the crop and legibility of the important detail.
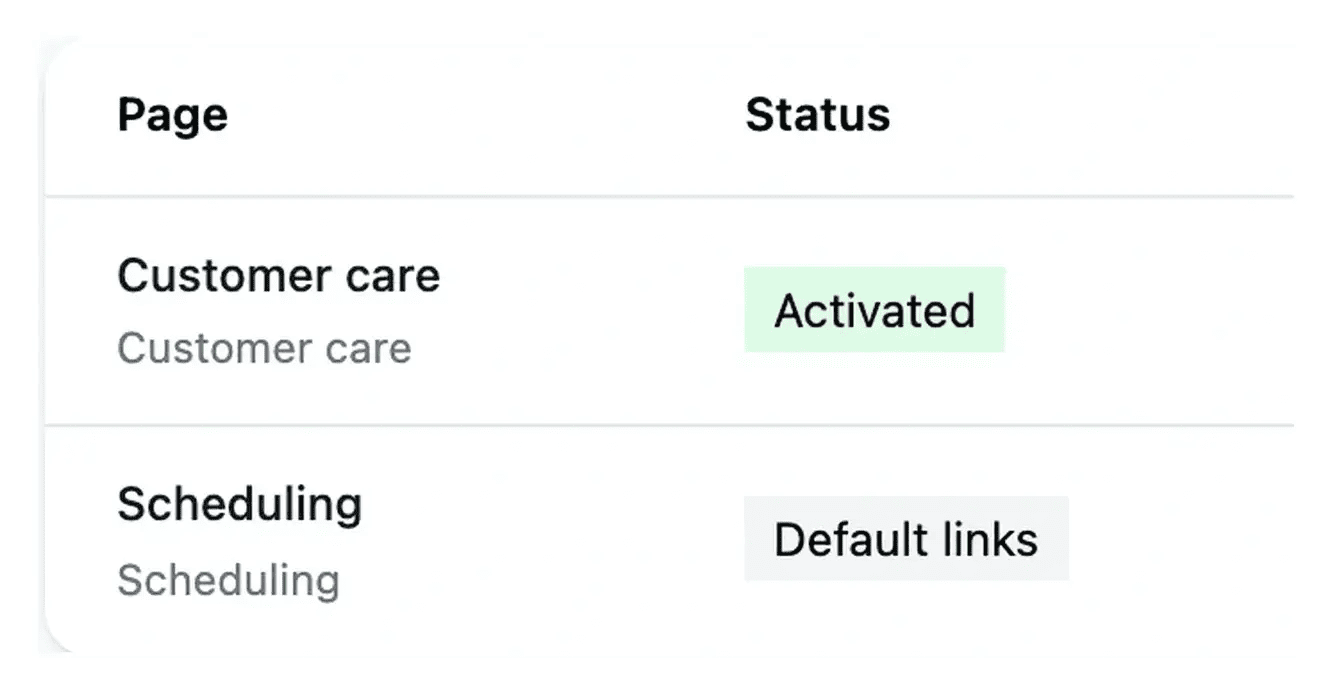
Use the image to make the explanation clearer
Choose a faithful, relevant visual for the section and verify it in the published page rather than only in the upload library.
Questions about Website visuals
An upload makes a file available. It still needs to be selected for the intended placement and applied to the website. These are different stages of the workflow.
Use material connected to the supported functionality and the section’s message. A screenshot should reflect the real application, without exposing customer information or implying controls that are not available.
Selections are associated with their placements. Review the saved map and retain the other valid choices when modifying one visual.
The image occupies a smaller frame. Important details can become unreadable or be cropped even if the full file looked useful on a large screen.
The documentation content itself does not provide a website image placement. Use the relevant website page’s graphic tools for its public presentation.